

5 tips for photographing interiors like a pro
If you’re anything like us, you could spend countless hours scrolling through Instagram and Pinterest admiring amazing interiors. Or, if you’re even more like us, you love flipping through feature homes in fabulous lifestyle magazines (wink wink). Although we highlight incredible interiors on the regular here at inRegister, the gorgeous shots of the spaces never fail to amaze us. The photographers capture the allure and appeal of a space in a single photograph. To get some insight on the tricks of the trade, we sat down with interiors photographer Melissa Oivanki, who shoots many of the homes featured in our monthly issues.
Below, Oivanki shares her top five tips for shooting interior spaces like a professional:
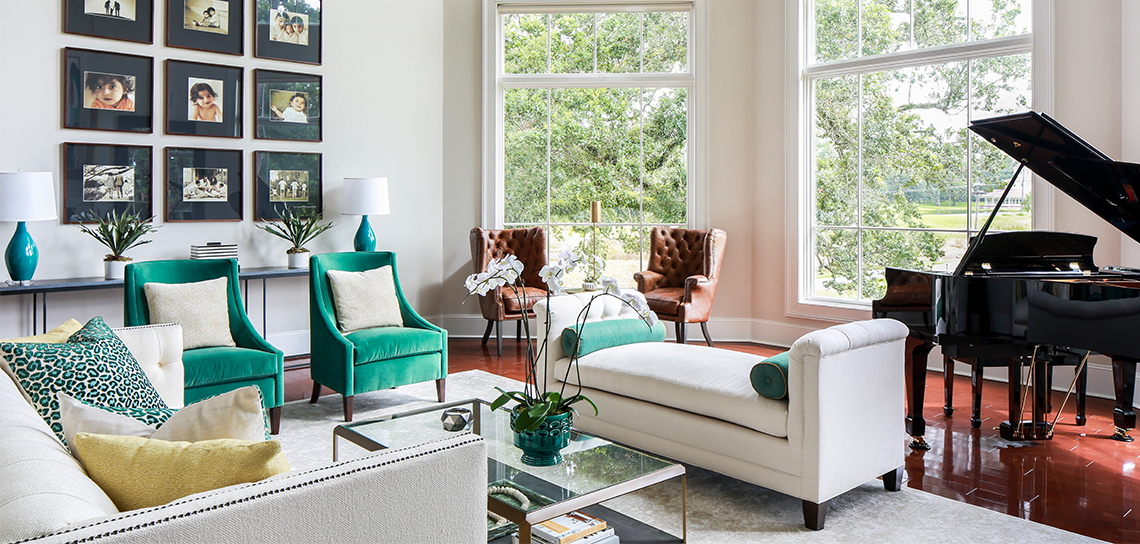
1. Shoot straight and compose every shot.
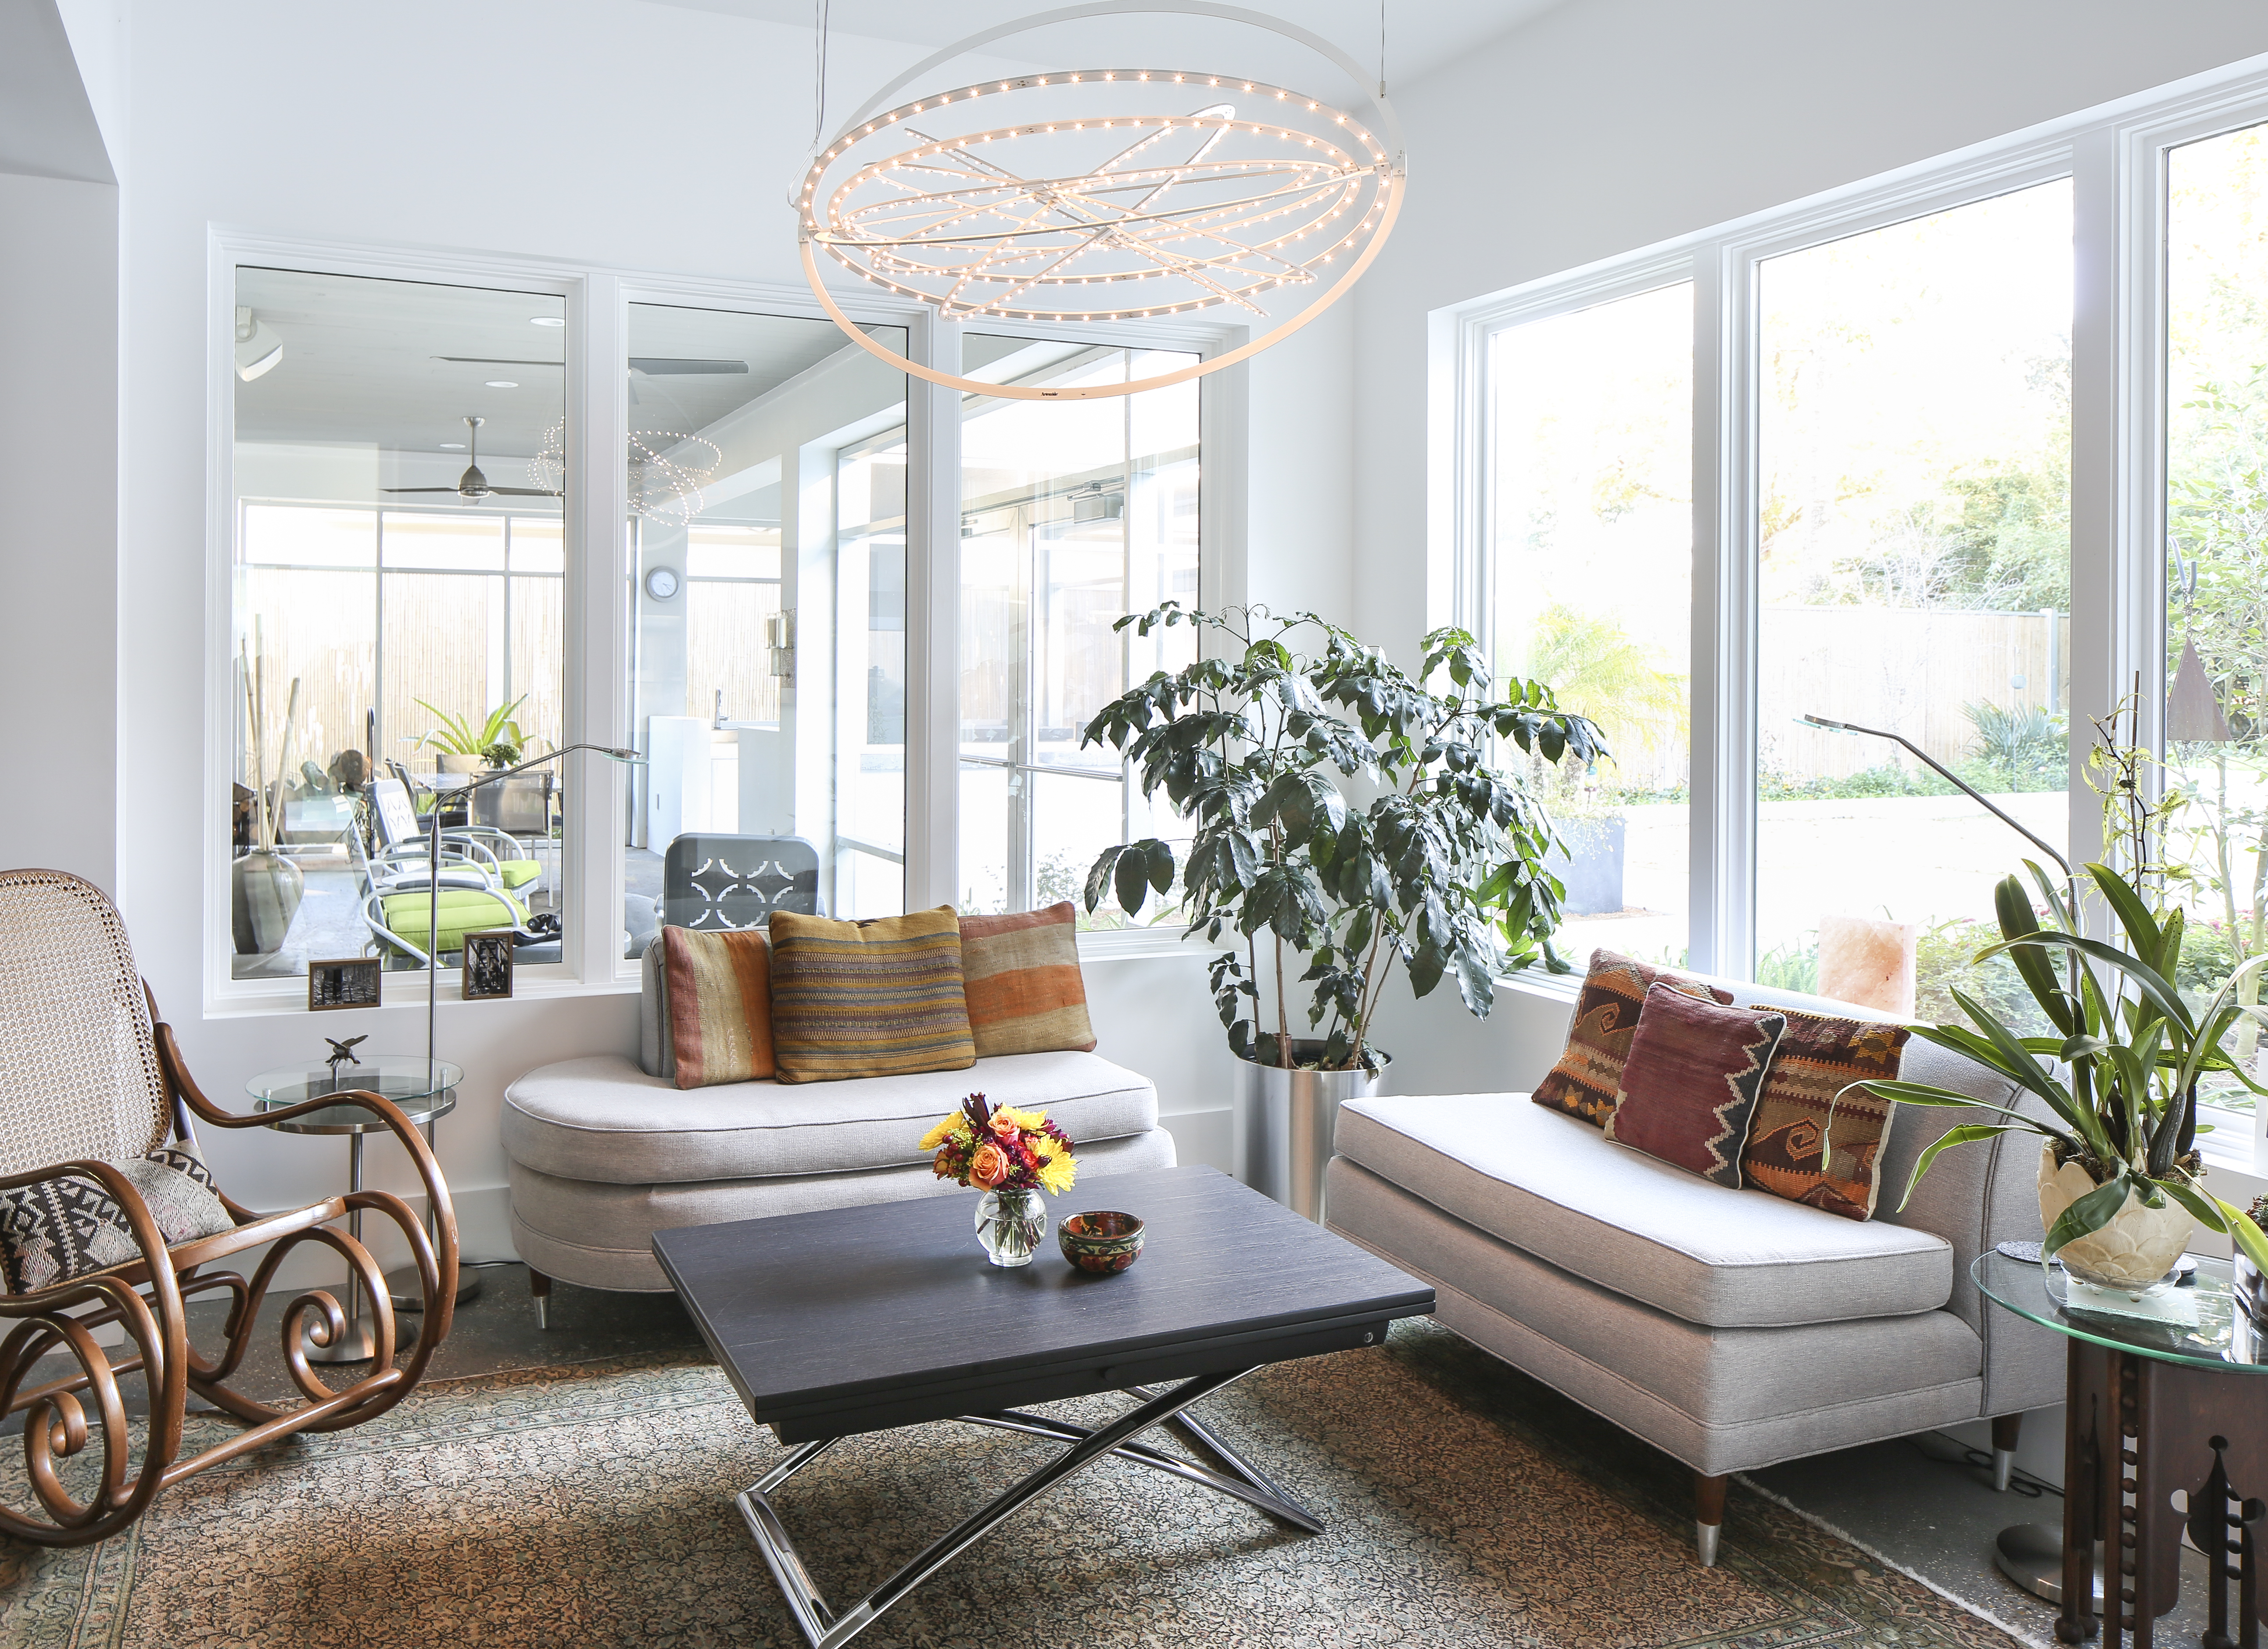
When shooting interiors, keep your camera straight. Look through the lens before each shot, and make sure all the vertical lines of the room are straight up-and-down. You can do this by looking at the corner of a room, or a window or door frame. Imagine there is a grid over the area you are shooting, and all the vertical lines in the room line up with the grid. If your vertical lines are not straight, the room will appear distorted.
To keep your photos interesting, try shooting into another room. Show a doorway or other architectural feature while avoiding large empty areas of floors or walls. It may even be necessary to move furniture, as things can look very different through the lens.
2. Clear the clutter.
Less is more when it comes to interiors. Although in person a room can look just fine with a trash can in the corner or a roll of paper towels on the counter, in a photograph, these things can grow in size depending on how close they are to the camera. Once you frame your shot, look through the lens and clear away all the unnecessary clutter that might make the shot too busy.
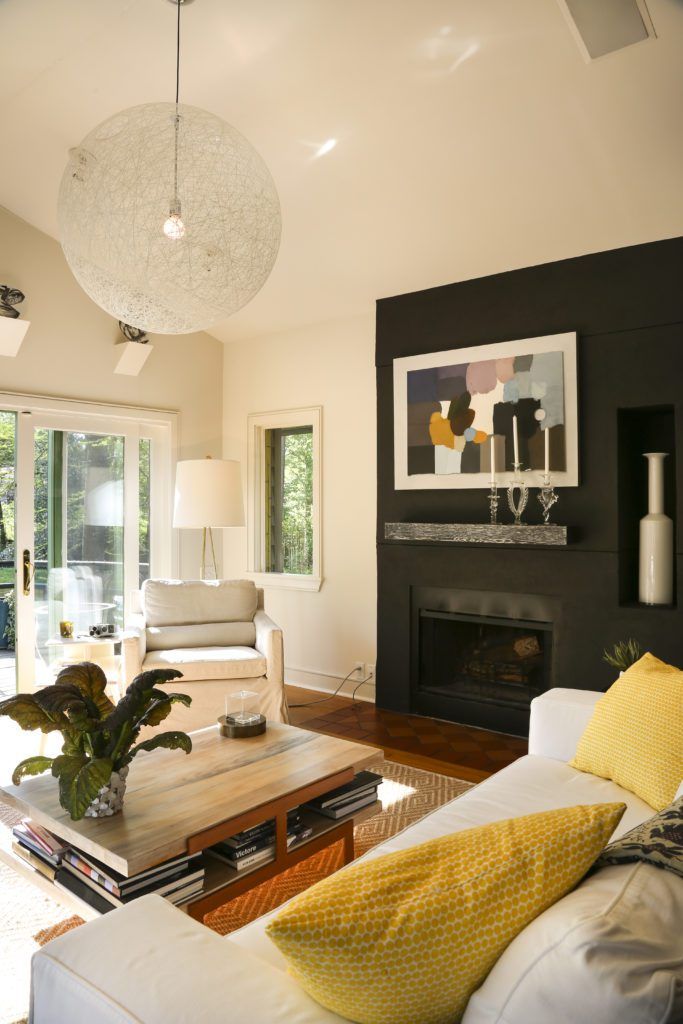
3. It’s all about lighting.
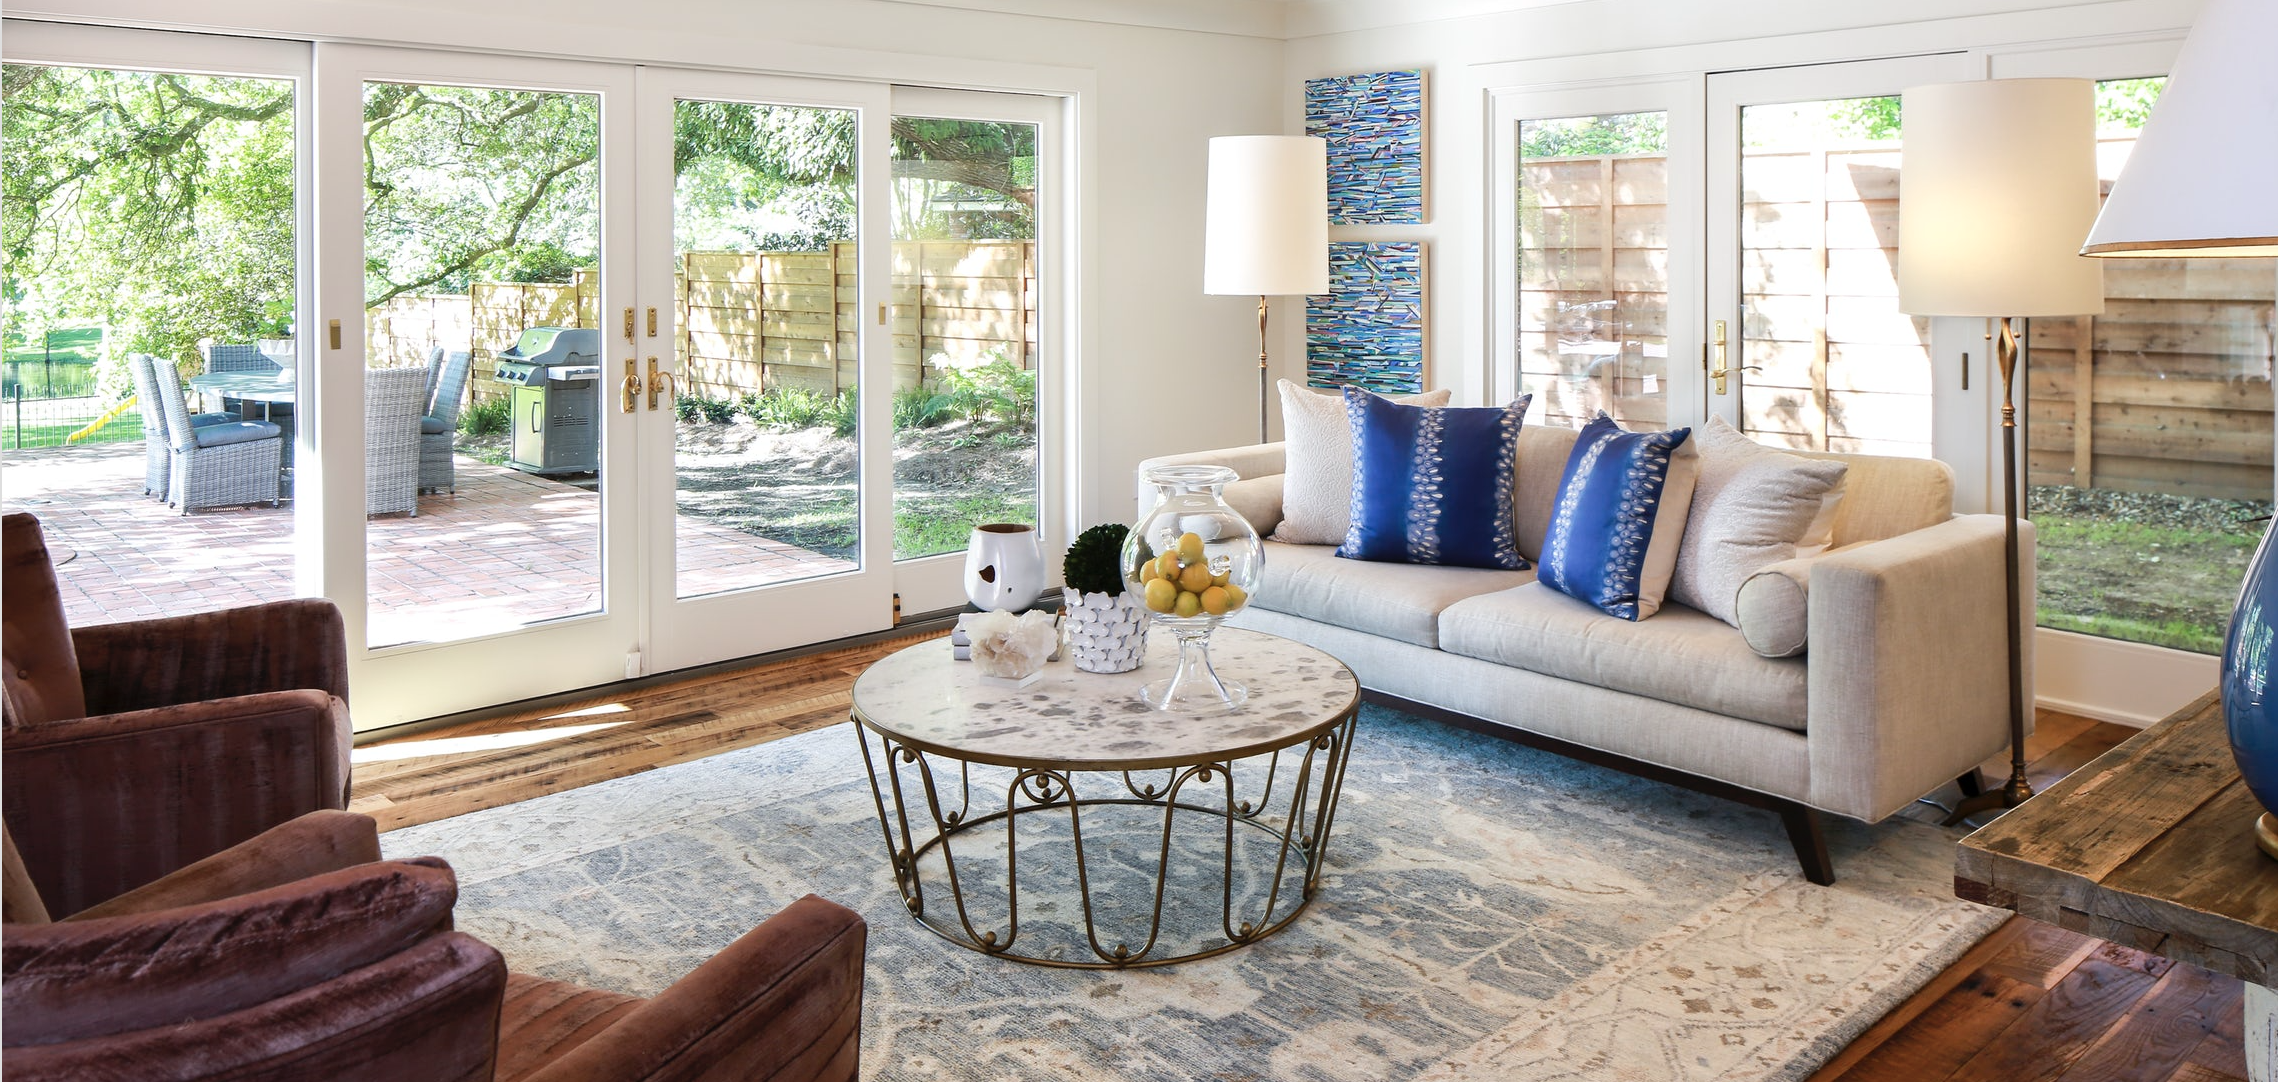
Pull back the curtains and let the light through! The best lighting for interior photography is natural light. Standard lighting inside (lamps, overhead lighting, etc.) can throw off the white balance of a room, so try turning off lights inside for a more natural look.
If the natural lighting is not enough to light the darker areas of the room, a pro move is to bring in some external lights, such as strobe lighting or an off-camera flash. Make sure to bounce the flash off of a light-colored surface or use light diffusers/umbrellas to avoid harsh shadows.
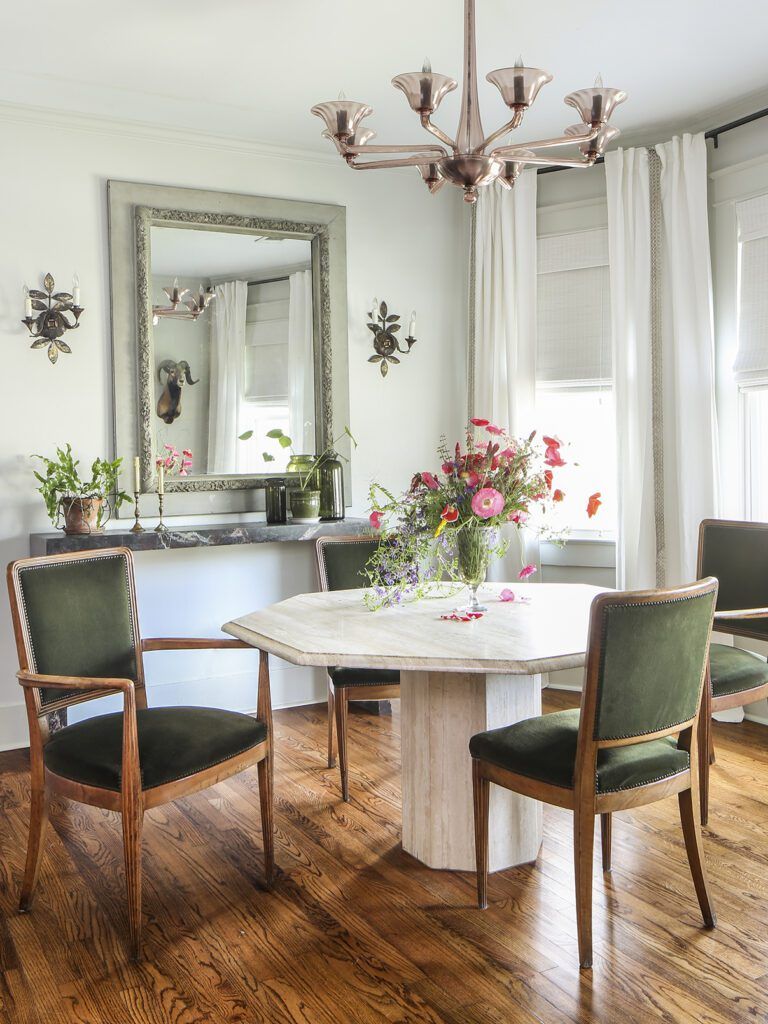
4. Know your camera settings and equipment.
While smart phones can take great photos in many situations, a professional DSLR or mirrorless camera with removable lenses is best to use for interior photography. Most interior photography will require longer shutter speeds and smaller apertures to get the most depth of field (area in focus) while allowing enough light into the lens. Familiarize yourself with your manual camera settings and experiment with each space until you get the results you’re looking for. Each room is different and will require different settings.
5. Use a tripod.
Since longer shutter speeds are needed, even the slightest movement from the camera can result in a blurry shot. A tripod keeps the camera completely still while your shutter is open, which eliminates blur and keeps your photos crisp and clear.
To see more of Oivanki’s work, visit her website or check out the cover story of this month’s inRegister issue.


