


Ask the expert: Andi Holliday’s solutions for three common interior design dilemmas
Stage Presence owner Andi Holliday has seen her fair share of client design issues. For Holliday’s home staging and redesign clients, they often find themselves pondering the endless options that plague them when it comes to adding life to a built-in bookshelf. They toss and turn over how they should go about transforming one room without having to redo the entire house. They sweat over the science behind painting trim. Holliday’s expertise coupled with the years of experience under her belt have allowed her to concoct recipes for perfection when facing these challenges. We sat down with Holliday to learn more about how she overcomes design dilemmas.
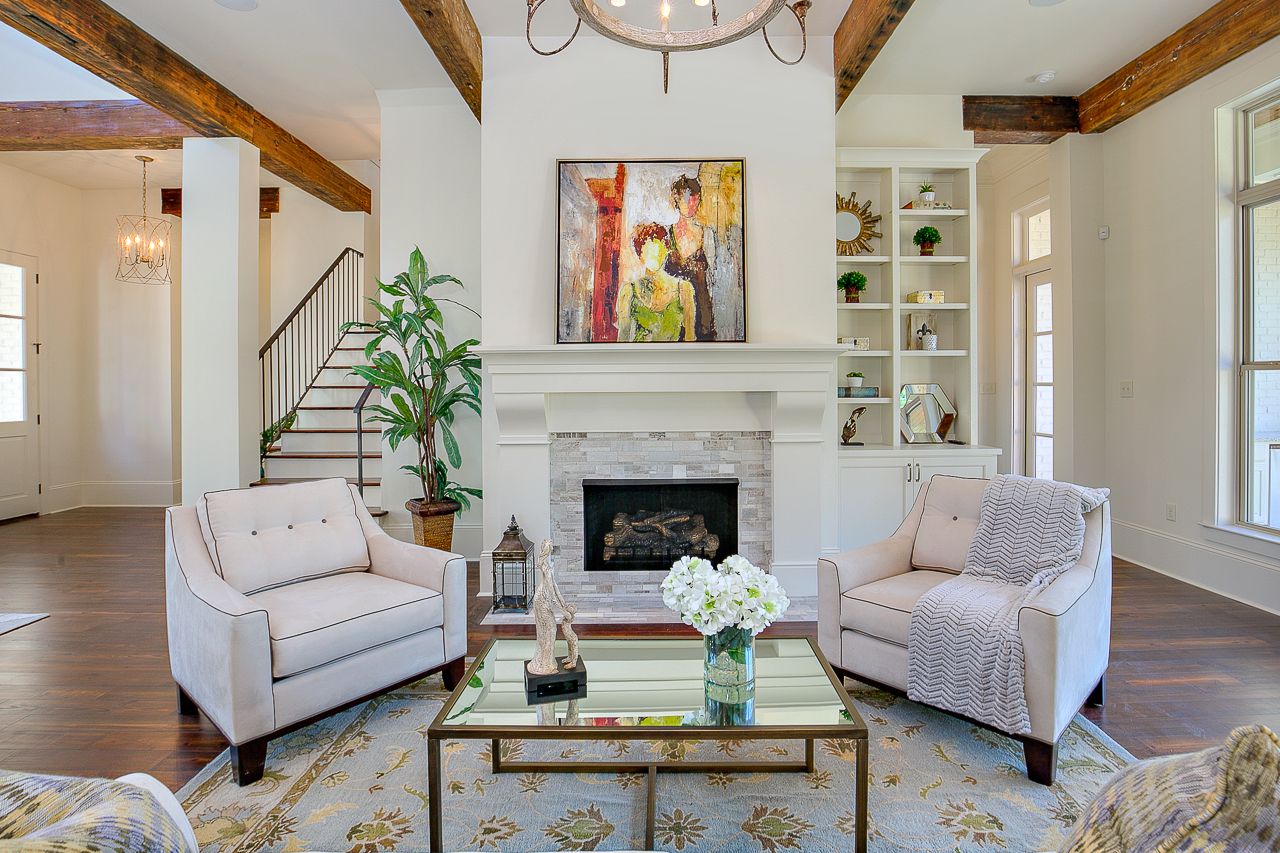
Don’t let the shelves stump you
“My clients often feel frustrated at how to achieve a more current and sophisticated look when it comes to their built-in bookcases,” says Holliday. “Did you know that your built-in bookcase can be an artistic expression of you and your style?”
For those looking to transform their bookshelves into something spectacular, start by decluttering. Getting rid of excess items is helpful in not only making space, but giving the shelves an overall more organized, cohesive feel.
“Most of us put our collections, family photos, books, plants and knick-knacks on the shelves, and before we know it, the shelves are a cluttered mess,” adds Holliday.
After you’ve decluttered the shelves, the next step is selecting a color scheme that coordinates with another element of the room–think wall color, furniture or art. Once you establish a color theme, finding items that can be grouped in twos, Holliday says, is key when it comes to balance.
“Begin placing the paired items, one on each side of the bookcase,” explains Holliday. “For example, a candle on the far left and then an identical or similar candle to the far right.”
Be unafraid when it comes to styling shelves. Trying something new like having the pages of books face forward, hanging art in the back of the shelf or framing your children’s art, Holliday advises, sets the stage for a beautiful built-in that becomes your own work of art.
One and done
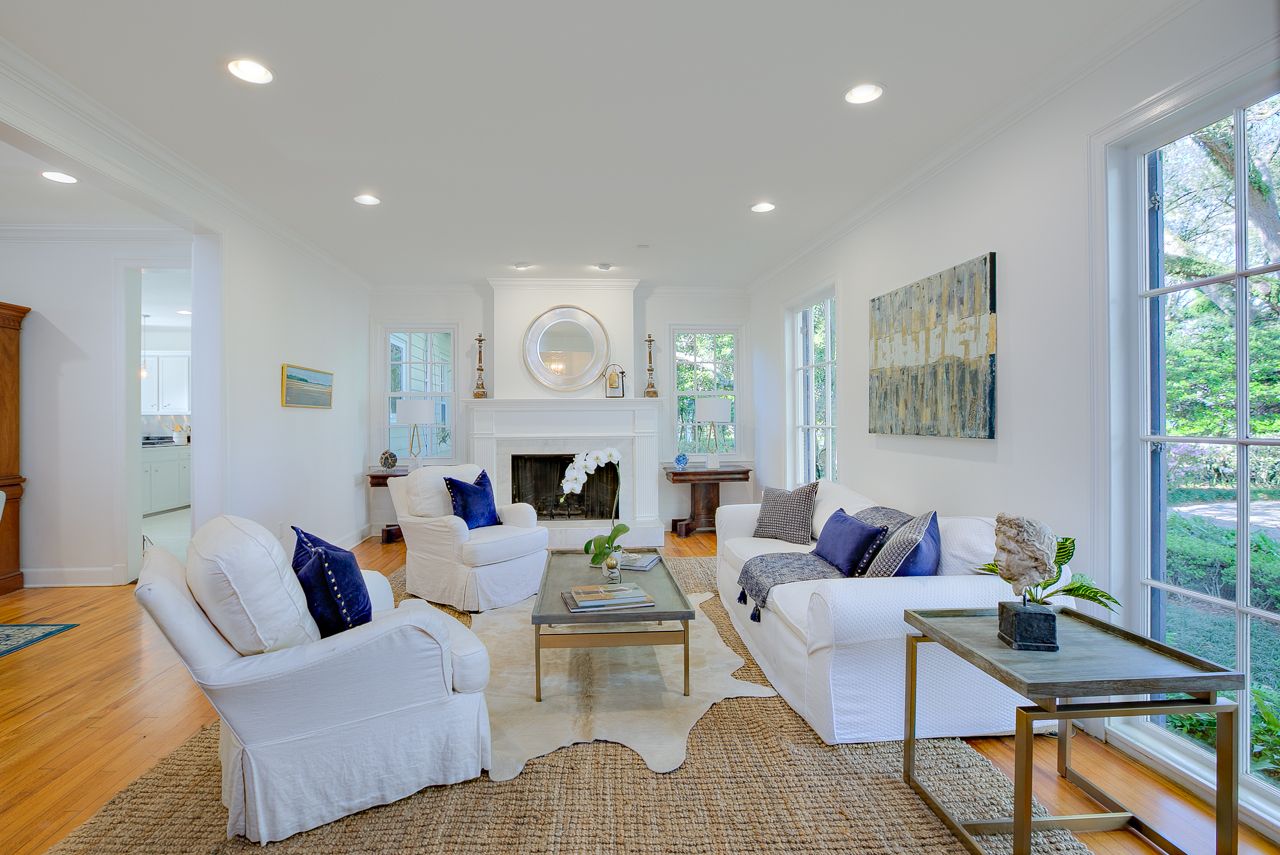
Holliday says that her clients often have a hard time focusing on one room at a time.
“It’s so exciting when we’re ready to update and change a particular space of our home,” says Holliday. “We visit design websites, buy numerous magazines and become Pinterest addicts! Before we know it, the task at hand seems daunting because once we change one thing, we want to change it all!”
Holliday says that first deciding the function and the style of the space is key. Will the dining room be made into the office? Or is the goal to update an existing space with the same function? Changing the color of the room or even simply the trim is the best way to create a whole new perspective for a room.
“I find painting helpful because it forces me to remove all the wall art and begin again with fresh ideas,” says Holliday. “Once you’ve finished painting, you can put all the furniture back–but resist the temptation to put it back the way it was positioned before.”
Avoid placing furniture in front of doorways and windows so you don’t block the natural light. Sometimes, completely removing curtains is all you need to liven and brighten up a room. Re-framing art, matting or even going frameless can be great new way to allow existing art to blend with new decor. According to Holliday, accessories and colors are extremely influential when it comes to style.
“The good news is that the internet is full of examples to help you replace some of the previously removed accessories and art to coordinate with the style you have chosen,” says Holliday.
Holliday advises adding at least two lamps to each room for low lighting, along with pillows and throws that coordinate with art or rugs. Adding greenery like succulents or indoor trees will help you add the final touches on a completely new space to love and enjoy in a whole new way.
Trim Trauma
You have finally decided to repaint the trim in your home. That’s the easy part. What do you do when you don’t want to repaint all of the trim throughout the entire home? Where do you stop? Can you have two adjacent rooms, for example, that have different trim colors?
“The answer is a resounding yes,” says Holliday. “However, to achieve some sort of balance or cohesive flow from one space to another, a little planning and forethought is best.”
Do you want to make a statement with your trim and walls? Or do you want to opt for a softer and more open flow from one room to the other?
“Let’s say you want to paint your kitchen trim a lighter white than the darker color trim of the rest of the home,” says Holliday. “To prevent color change from being too stark, take the existing trim color and have it made 50% lighter.”
This trick, Holliday says, is a great way to change the color while staying in the original color family. The transition from one color to the next will be seamless. “Depending on the lighting and time of day, the layering of the similar colors offers a beautiful but subtle distinction,” says Holliday.
For someone who is feeling a little more daring, try painting the trim a darker color and the walls a lighter color in one room, while painting the other room with darker walls and lighter trim. This opposite contrast creates a balanced sense of design with a little more artistic and contemporary appeal.
“Remember to consider the sheen when painting walls and trim,” advises Holliday. “Best rule of thumb is that the walls are painted a flat or eggshell and the trim a satin or semi-gloss. Paint a little, or a lot, and enjoy!”
This article originally appeared in an August 2018 edition of inRegister@Home. To learn more about Andi Holliday and to browse her expertise, visit stagepresence4u.com.


